As an audio enthusiast, I understand the importance of having a good subwoofer to complement your home theater system or music setup. However, not all receivers come equipped with a dedicated subwoofer output, which can make connecting a bit more challenging.
With a little bit of know-how and the right equipment, it’s still possible to get great bass from your system without a dedicated output, as there are many ways to connect a subwoofer to a receiver without a subwoofer output.
In this review,I will explore some of the most common methods for this process. Plus, I’ll provide clear and easy-to-follow instructions so you can get the most out of your audio system.
Subwoofer connection options
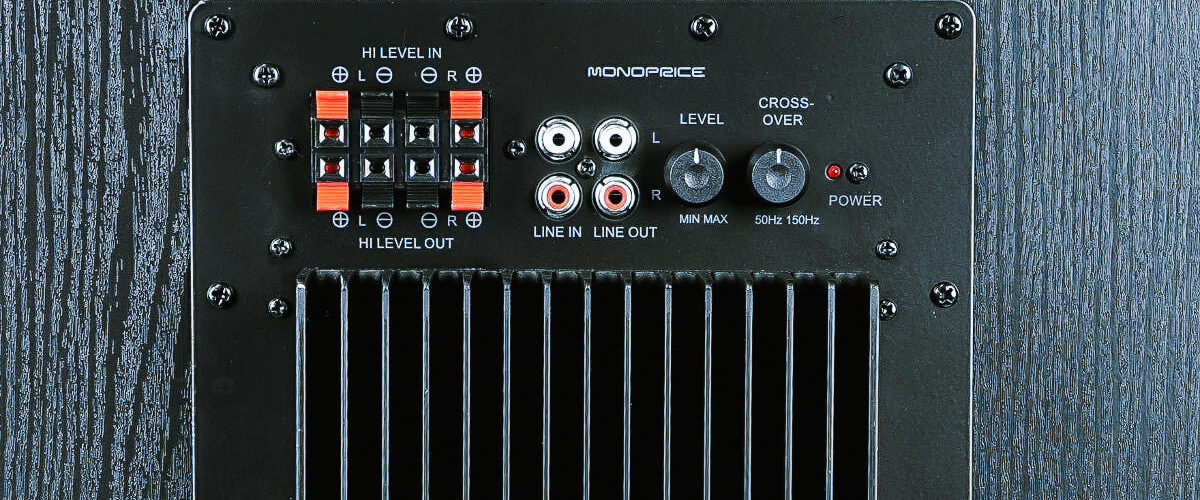
When it comes to connecting a sub to an AVR without a special output, several options are available to ensure you still get that deep bass you crave. In my opinion, some of the most optimal of them are:
| Method | Description |
|---|---|
| Speaker-level input connections | If your receiver has speaker outputs, you can use the speaker-level inputs on your subwoofer. This method lets the subwoofer receive the audio signal directly from the receiver’s amplifier. |
| Preamp and Zone 2 output connections | Another option is to use the preamp output or Zone 2 output of your receiver. These outputs typically provide a line-level signal that can be attached to the line-level inputs on your sub. |
| Line-level adapters | If your AVR doesn’t have preamp or Zone 2 outputs, you can use a line-level adapter. This device converts the speaker-level output from your receiver into a line-level signal that can be united with the subwoofer’s line-level inputs. |
Speaker-level input connections
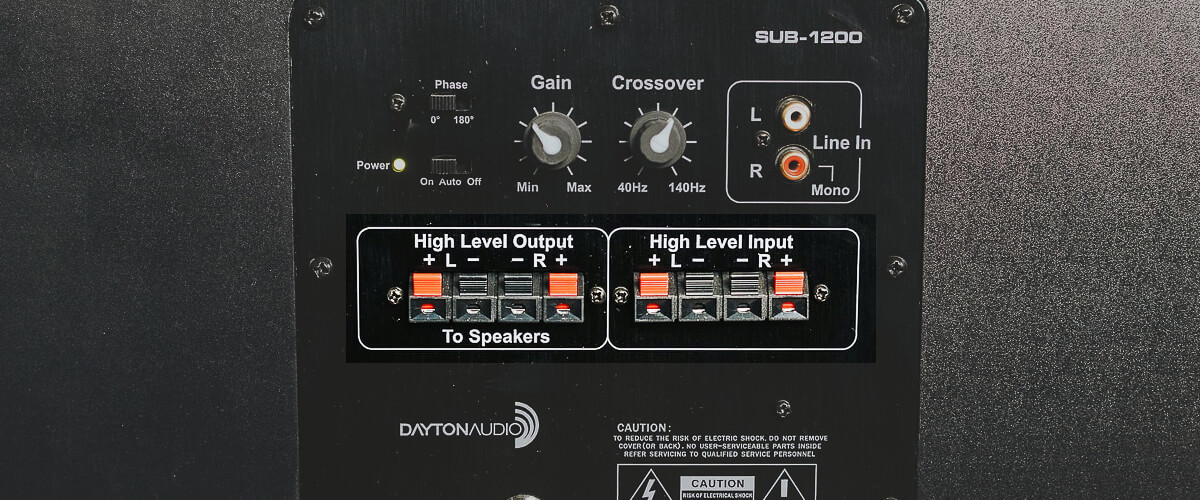
The beauty of speaker-level inputs is that they are widely available on most speaker systems, making them a versatile option for many setups. They are also a simple and effective way to connect your subwoofer to your home theater receiver. To do it, you need to follow these simple instructions:
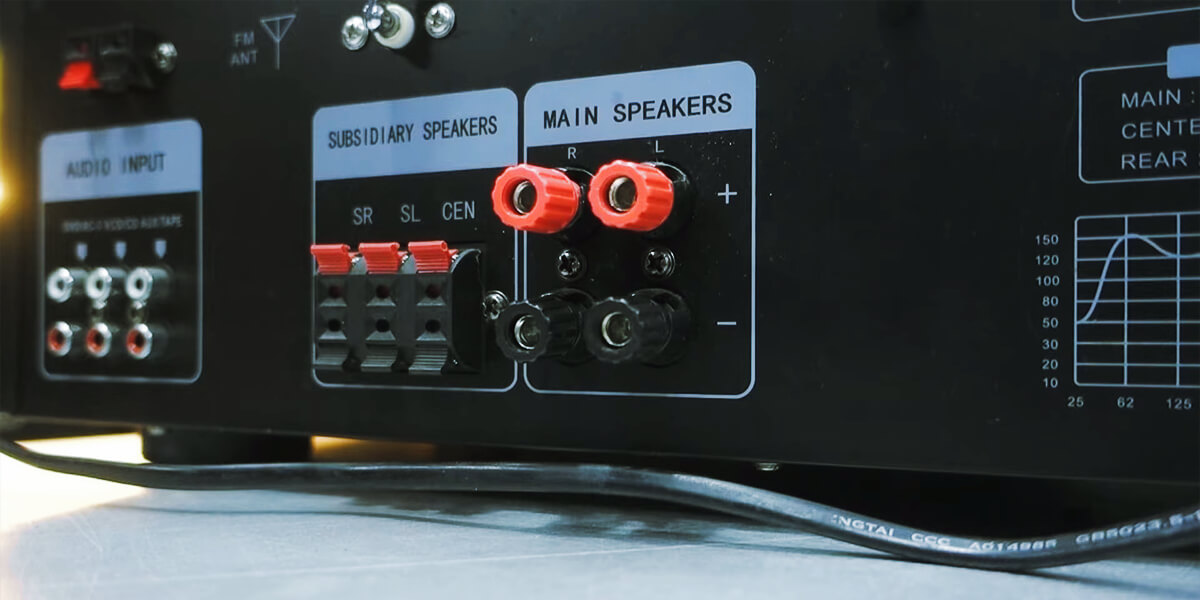
- Locate the speaker wire outputs on your receiver. They are usually labeled as “Front” or “Main” speakers and can be found on the back panel.
- Identify the positive (+) and negative (-) terminals for the speaker wire outputs. These are typically color-coded, with red indicating positive and black indicating negative.
- Disconnect the speaker wires from the receiver’s speaker outputs.
- Attach the positive speaker wire to the positive terminal on the subwoofer’s speaker-level input. Similarly, connect the negative speaker wire to the negative terminal.
- Once all connections are secure, turn on your receiver and subwoofer. Adjust the subwoofer’s volume level using the signal level adjustment knob or switch, if available, to achieve the desired bass output.
Preamp and Zone 2 output connections
A preamp is a valuable tool for enhancing your audio setup by providing additional control and flexibility. Connecting a preamp to a Zone 2 output can greatly enhance your audio setup by allowing you to enjoy music in multiple rooms or zones simultaneously. Whether you want to listen to your favorite tunes in the living room while entertaining guests in the backyard or create a peaceful atmosphere in your bedroom, understanding how to make these connections is very important.
- Ensure that your AV receiver has a Zone 2 output and that your preamp has appropriate input options for connecting to the receiver.
- Locate the Zone 2 Output. Identify the Zone 2 output on your AV receiver. It is usually labeled as “Zone 2,” “Zone 2 Pre Out,” or similar.
- Using appropriate cables, unite the Zone 2 output of your AV receiver with the input of the preamp. If the Zone 2 output is RCA, use RCA cables. If it is HDMI, use an HDMI cable.
- Once the physical connections are made, power on your AV receiver and preamp. Access the receiver’s menu settings to configure the Zone 2 output. Select the desired audio sources and adjust any necessary settings, such as volume levels and tone controls.
- Next, connect speakers to the preamp’s speaker output terminals. Follow the instructions provided with your preamp to ensure proper process. Consider using the impedance-matching volume controls if you plan to use multiple pairs of speakers.
Line-level adapters and external devices
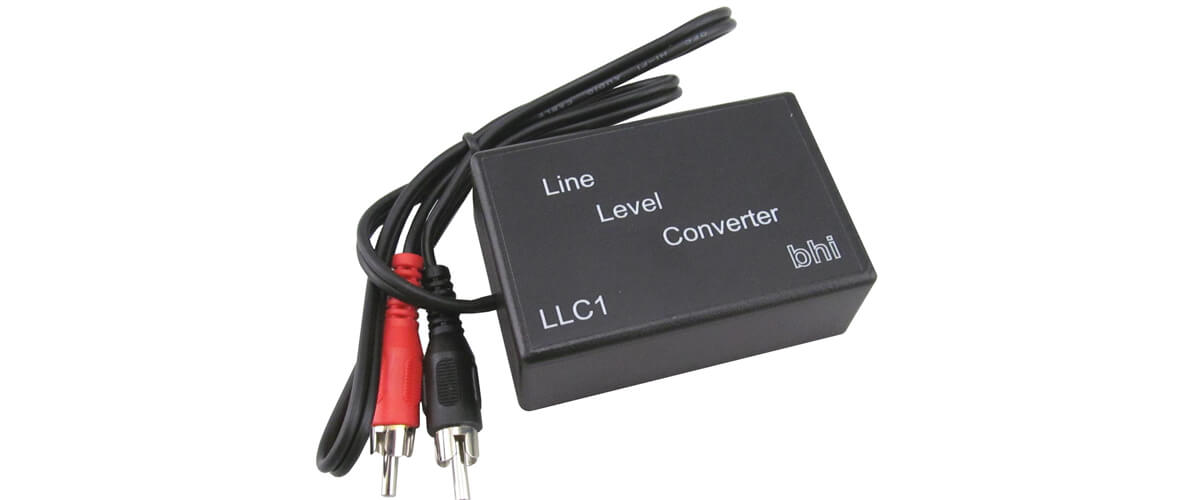
Line-level adapters act as a bridge between devices, ensuring compatibility and smooth audio transmission. Whether you want to hook up your subwoofer to a receiver without a dedicated output or integrate an external audio source into your system, a line-level adapter can come to your rescue. Let’s take a closer look at how to use a line-level adapter with step-by-step instructions:
- Identify the audio input/output options: Begin by examining the audio inputs and outputs of both the source device and the destination device. Take note of the available connectors, such as RCA, 3.5mm, or XLR.
- Choose the appropriate line-level adapter: Based on the connectors involved, select a line-level adapter that matches the input/output options of the devices you want to connect. Ensure that the adapter supports the audio signal type (analog or digital) you are working with.
- Connect the adapter to the source device: Take one end of the adapter cable and plug it into the audio output port of the source device. Make sure to match the connectors correctly, for example, RCA to RCA or 3.5mm to 3.5mm.
- Connect the adapter to the destination device: Take the other end of the adapter cable and connect it to the audio input port of the destination device. Again, match the connectors appropriately.
- Check the audio settings on both devices: Ensure that the output volume on the source device is set to an appropriate level and that the input volume on the destination device is adjusted accordingly.
Even if your receiver lacks a dedicated subwoofer output, several options are still available to connect your subwoofer. With the right connection method and some adjustments to the device’s settings, you can enhance your audio system and enjoy the immersive and powerful bass that a sub brings to your listening experience.

