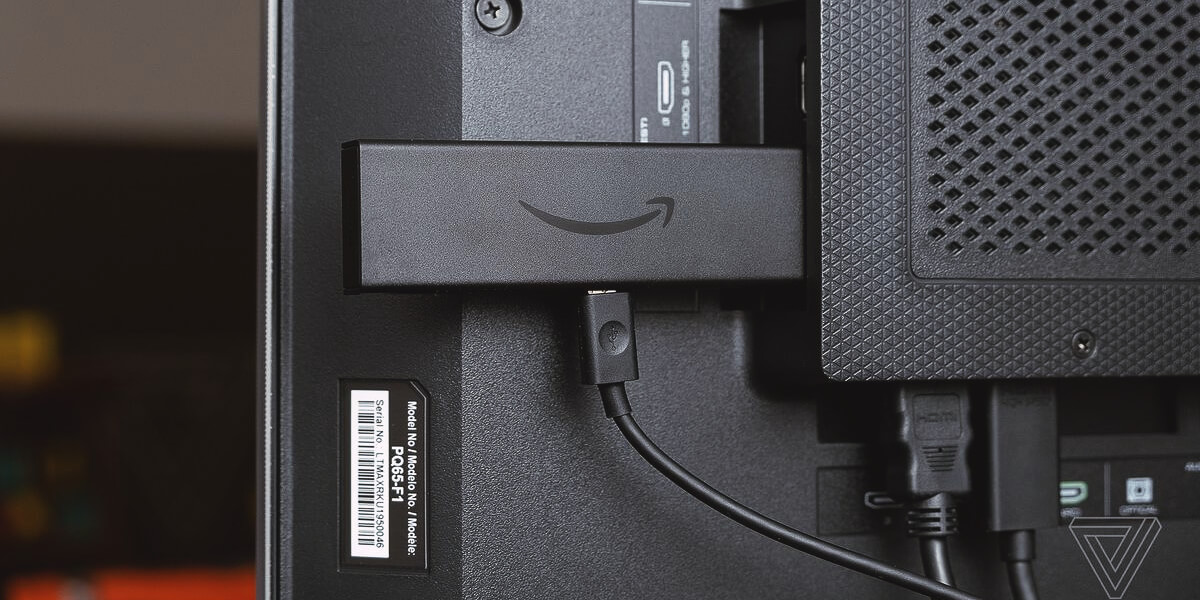
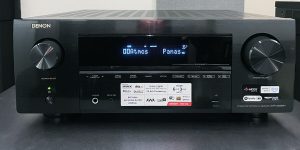
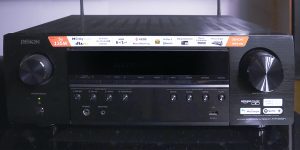
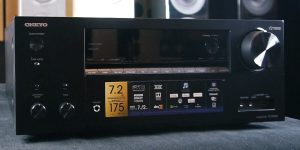
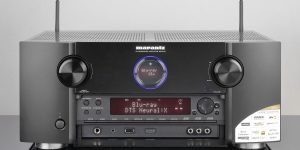
The setup process for different models of Amazon Fire Stick is generally the same. Minor variations may exist in on-screen instructions or menu options, but the overall steps of connecting and configuring the Fire Stick remain consistent.
In this guide, I’ll explain how to connect a Fire Stick to a receiver. Follow my steps, and you’ll achieve success.
Equipment needed
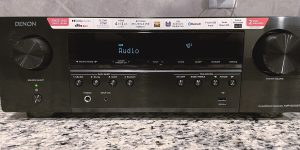
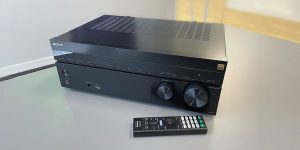
To hook up your Amazon Fire TV to an AV receiver, you will need the following equipment:
- Amazon Fire Stick.
- AV receiver with HDMI input.
- HDMI cable.
- TV or display.
- Power cables.
- Remote control.
Step-by-step guide: connecting Amazon Fire Stick to AV receiver
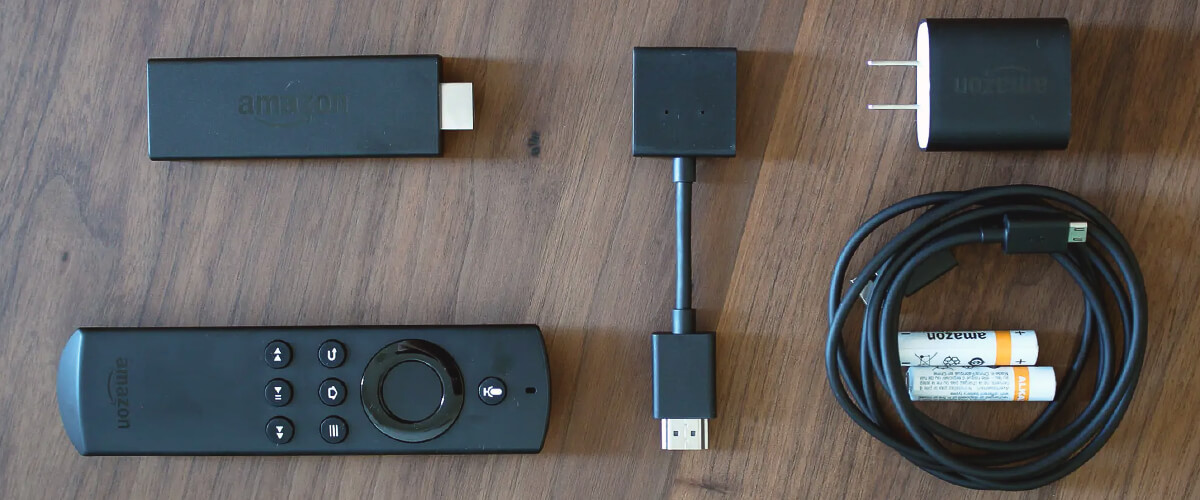
I have prepared a step-by-step guide for you to connect the Amazon Fire Stick to the AV receiver. This will provide you with precise instructions and detailed explanations.
1. Powering on your devices
Start by plugging in the power cables for the Amazon Fire Stick, AV receiver, and your TV or display. Ensure that all devices are properly connected to power sources and turned on. It will allow the Fire Stick to communicate with the AVR and enable you to enjoy seamless streaming and audio through your home entertainment system.
2. Connecting fire stick to AV receiver using HDMI
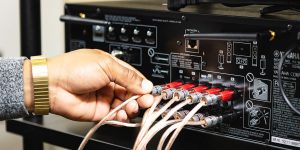
Take one end of the HDMI cable and connect it to the HDMI output port on the Fire Stick. Then, connect the other end of the HDMI cable to an available HDMI input on your AV receiver (not HDMI output, make sure of this). This connection will enable the transmission of both audio and video signals.
Please note that the Fire TV Stick doesn’t support 4K streaming via HMDI 2.0; for 4K or more, you should use HDMI input and cable that supports HDCP 2.2 content protection standards.
I highly recommend using solid and verified HDMI cables from famous brands, especially with 4K or more resolution. I have been using AudioQuest Forest for many years and am so happy with it.
3. Turning on Amazon Fire Stick
Ensure that your TV or display is powered on and set to the corresponding HDMI input connected to the AV receiver. Then, use the Fire Stick remote or the power button on the Fire Stick itself to turn it on. Once the Fire Stick is powered on, you can navigate through the on-screen instructions.
4. Configuring your AV receiver
Start by turning on your AV receiver and accessing the settings menu. Navigate to the input or source selection option and choose the HDMI input to which you have connected the Fire Stick. Adjust the audio settings, such as selecting the appropriate sound mode or enabling surround sound, to optimize your audio experience. Once configured, your AV receiver is ready to enhance the audio output from your Fire Stick.
Testing the connection
Once all the cables are properly connected, power on your TV, AV receiver, and Fire Stick. Select the appropriate HDMI input on your TV for the AV receiver. Ensure that both video and audio are being transmitted correctly by playing video or audio content from the Fire Stick. Adjust the settings if needed to optimize the audio and video quality.
FAQ
Can I connect the Amazon Fire Stick directly to my TV while the audio goes through the AV receiver?
Yes, you can connect the Amazon Fire Stick directly to your TV and route the audio to your AV receiver. Just connect the Fire Stick to the TV via HDMI and use a separate audio cable to connect the TV’s audio output to the AV receiver. This setup allows you to enjoy the Fire Stick’s video on your TV while utilizing the superior audio capabilities of your AV receiver.
Is there any difference in the setup process for different models of Amazon Fire Stick
The setup process for different models of Amazon Fire Stick is generally the same. Minor variations in on-screen instructions or menu options may exist, but the overall steps of connecting and configuring the Fire Stick remain consistent. Follow the instructions provided for your specific model, and you’ll be able to easily set it up and connect it to your AV receiver.

